Showing posts with label north indian. Show all posts

Monday, January 13, 2014

Radish/Mooli Paratha

Okay, never ever use bare hands to handle the radish in this recipe. Ever! I made this after so long that I forget and ended up having redness and itching on the back of my hand for about an hour. The itching has reduced, thanks to the coconut oil but the redness still persists. Anyways, getting back to the post.

Another one of my favorites. Parathas are generally loved but stuffed parathas make me feel like I am eating something healthier. Despite their foul smell, these parathas are so delicious that they can hardly be avoided.

Radish is an edible root vegetable. Baby  radish are used in salads raw. In South India, they are added to sambar and in North India, made into parathas. In Mexico, they have a special radish festival wherein carvings on radish are displayed at common spots.

Radish juice is considered to have cleansing powers and is good for the kidney. Some also believe that it helps fight cancer. Adding to all those benefits, this recipe ensures to make maximum use of this veggie, so do try it.

Preparation time : 40 minutes - depends on what method is chosen to extract the radish juice
Cooking time  : 2 minutes per paratha

Ingredients:
For the stuffing:

  1. Radish - 2 medium sized
  2. Cumin Seeds - 1 tsp
  3. Kasuri methi - 1 tsp
  4. Turmeric powder - 1/4 tsp
  5. Red chilli powder - 1/2 tsp
  6. Amchoor/Dry Mango powder - 1/2 tsp
  7. Oil - 1 tbsp
  8. Salt to taste
For the dough:
  1. Whole wheat flour - I usually take enough to make a smooth dough with the extracted radish juice. So start with a little and add as you go.
  2. Salt to taste
  3. Oil - 1 tbsp
  4. Radish juice - extracted when making the above stuffing. You can use plain water as well.
How I made it :
  1. Wash and scrape the radish.
  2. Grate the radish. A medium sized grater will do.
  3. Now, extract the juice from the grated radish. You could either use a muslin cloth or wear a food grade glove and squeeze handfuls of radish. Retain this juice. Remember that the more juice you remove, the better. The drier the filling/stuffing, the easier it will be to roll out the paratha.
  4. In a pan, heat 1 tbsp oil.
  5. Put in the cumin seeds.
  6. Once they start to change colour, add the kasuri methi.
  7. In 30 seconds, put in the red chilli powder. 
  8. Before the red chilli powder starts to burn put in the turmeric powder, grated juiced radish and salt to taste.
  9. Fry till the radish goes as dry and all the masalas are well mixed. 
  10. Now add the mango powder. Mix well and let the stuffing cool. Taste and make adjustments to your taste. 
  11. While the stuffing cools, made the whole wheat dough. Mix the flour, salt, oil and radish juice to make a nice smooth soft dough. The dough when pressed with a finger should kind of bounce back. Make sure it is not too watery/sticky as that will make it harder to roll out. Start with a little flour and keep adding as you go as it is not possible to give an exact measurement. The amount of radish juice will differ based on size, freshness and effectiveness of juicing method used. 
  12. Now, split the dough into small balls.
  13. Roll each ball out into a disc of about 5mm thick.
  14. Place a sufficient amount of stuffing, proportional to the size of the disc in the centre.
  15. Pull the ends together as can be seen in the collage above. 
  16. Apply some dry flour and roll out into a thin disc. Don't worry if the dough comes apart. You can always patch it up with some dry flour. Just ensure that you have the filling spread evenly around and the thickness of the paratha/disc is uniform throughout. 
  17. Repeat for all the balls made in step 12, provided there is enough filling. Else use this dough to make simple plain parathas.
  18. Heat a tawa/flat pan. 
  19. One at a time, place the rolled out parathas on the hot pan. Once you see that there are small air pockets forming, apply some oil/ghee and then turn. Lower the heat and let this cook for about a minute or until maillard reaction kicks in and there are enough brown spots. Apply pressure with the means of a flat ladle to help uniform cooking of all areas of the paratha. Turn, increase heat. Apply more oil/ghee if desired. Cook till maillard reactions cause brown spots- about 40 seconds.
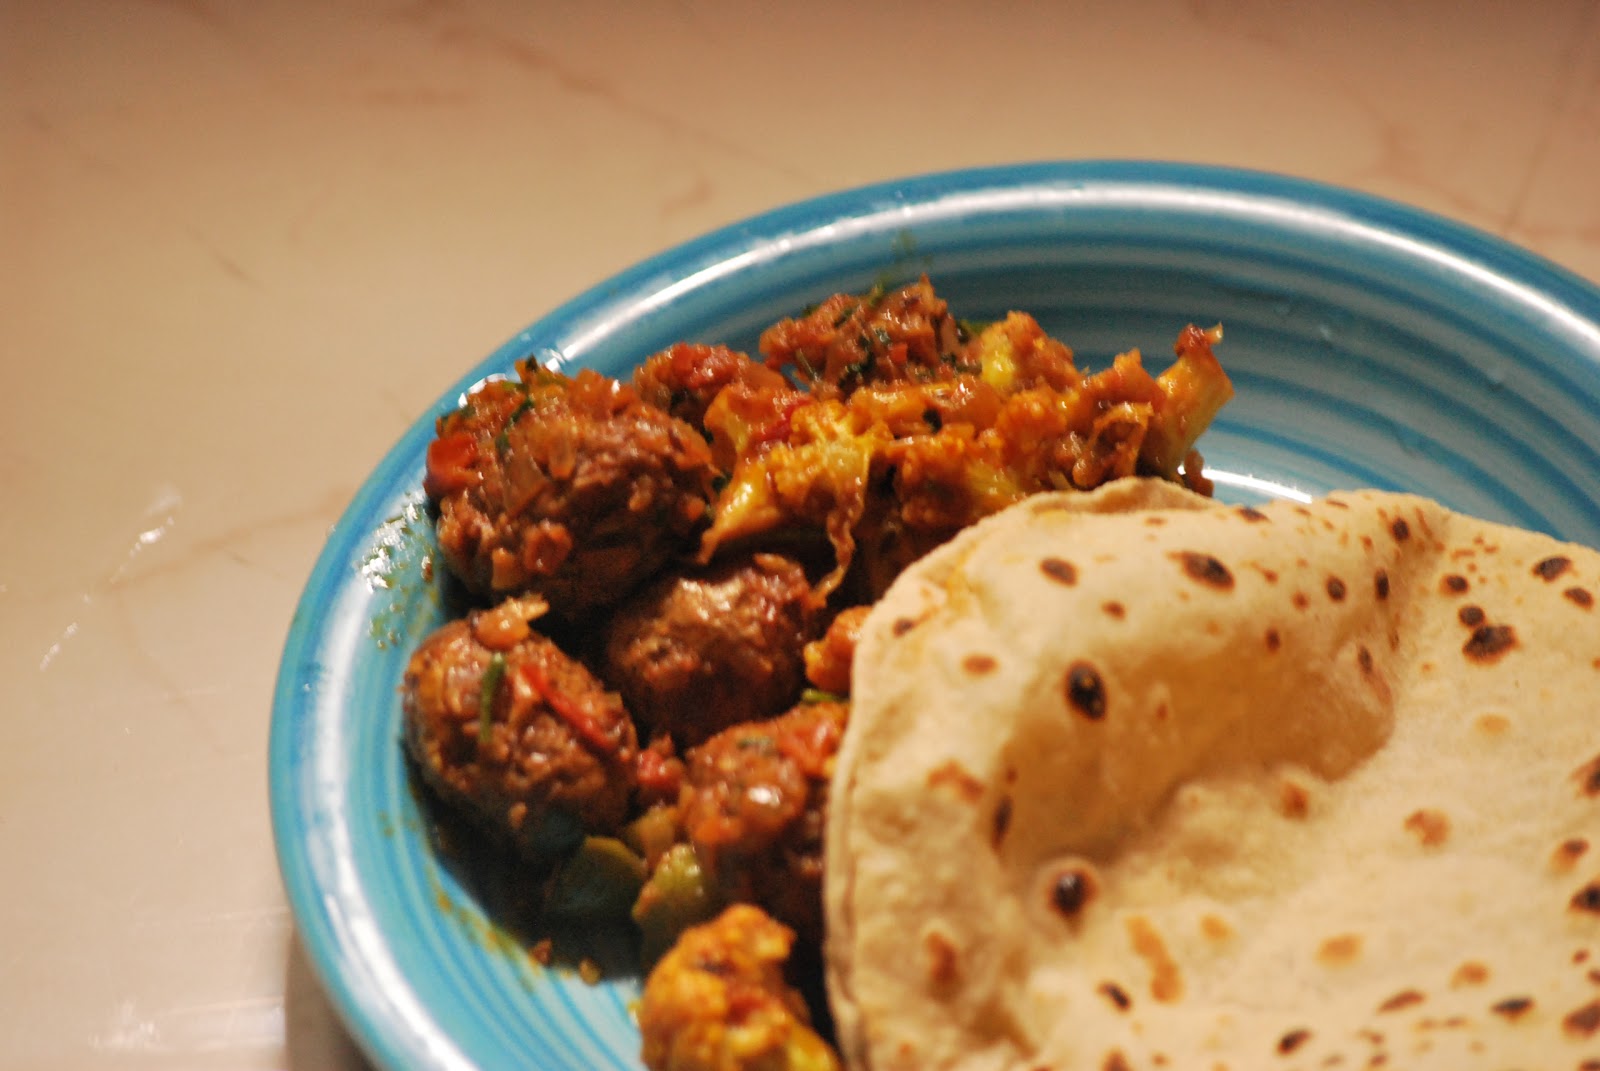
Serve hot with curd/pickle/papad.

Tips:
  • If you do get redness and itching from handling the radish, apply coconut oil and wave your hand up and about in the air, even if people think that you are crazy. Breathe! It will subside and all will be well.
  • Make the stuffing as dry as possible to enable easy rolling.
  • Make the chapati dough as smooth and non-sticky to enable easy rolling.
Trivia :
  • Maillard reactions, named after a scientist, are those reactions which cause the browning of food. These occur at temperatures of 120 degree C. It is these maillard reactions that provide that awesome taste to food. Yes, some food have their own flavour but it is this which enhances that flavour as well as the aromas that our nose detect. It is basically a chemical reaction of carbohydrates and proteins in amino acids which releases many sub compounds. These sub compounds are very volatile and escape easily into the air. 

Monday, October 7, 2013

Palak Panneer

This has been a long pending one as I keep forgetting to take a picture. Palak panneer is an absolute favorite especially with rotis and the punjabi papad. Now, there are many ways of making palak panneer and I prefer the method which prevents max loss of nutrients. At least I hope that is the case. (wink).


Love the greeeeen in the picture.

Difficulty level : Medium
Equipment required :  Food processor/blender/mixie

Ingredients :

  1. 1 large bunch of spinach
  2. 4 green chillies - this will make it spicy so adjust accordingly. Also, adjust if the bunch is small.
  3. 1 large onion finely sliced
  4. 1 large tomato
  5. 1/4 cup fresh cream/milk or coconut milk - this is my new find
  6. 1 cup panneer cubes
  7. 1 tbsp ginger garlic paste
  8. 1/2 tsp garam masala powder
  9. 1 tbsp + 1tsp  oil
  10. 1 stick of cinnamon
  11. Salt to taste
How I made it :
  1. In a pressure cooker, add washed spinach and green chillies. 
  2. Give one whistle. There is no need to add extra water as the spinach leaves water while it cooks. 
  3. In another pan, heat 1 tbsp oil and fry the onions till pink.
  4. Add the ginger garlic paste and let the raw smell go away. You could also use fresh pieces of garlic and ginger this will anyway be blitzed in the food processor/blender/mixie.
  5. Now add the tomatoes and cook till they go soft.
  6. Once the onion-tomato mixture cools down, add the spinach mix and blitz the whole thing in the blender/food processor.
  7. Heat 1 tsp oil in a pan. 
  8. Add the cinnamon stick. 
  9. Add the paste and panneer cubes.
  10. Mix well. Add the fresh cream or coconut milk. If using milk, check for consistency required. 
  11. Adjust salt and add garam masala.
  12. Cover and let it bubble for a couple of minutes.
  13. Serve hot with rotis and punjabi/sindhi papad.
Myth or fact : A papad takes 14 days to completely digest and get out of the system?

Wednesday, January 30, 2013

Butter Tofu Masala - without onion and garlic

Well, I was stumped when I heard of this recipe. My sister-in-law's mother had made this for us when we visited her for lunch and I don't think we would've realized if it had not been for her telling us. This butter tofu/panneer masala uses bottle gourd in place of onion and garlic in the traditional recipe.

I did refer this recipe. That blog is worth bookmarking and following as it has really interesting, unique recipes.

Ingredients :

  1. 200g tofu cut into cubes - you could use panneer
  2. 1 small capsicum cut into cubes of similar size as panneer/tofu
  3. 4 medium sized tomatoes
  4. 1 tsp cumin seeds
  5. 1 tsp oil
  6. 1 tsp kasuri methi
  7. 1/2 tsp garam masala powder
  8. 1/2 tsp cumin powder
  9. 1/2 tsp coriander powder
  10. Salt to taste
  11. 1/2 a bottle gourd grated
  12. 1 inch piece of ginger
  13. 1/4 cup cashew nuts
  14. 1 tsp kasuri methi
  15. 2 green chillies
  16. 1tsp oil
  17. 1 tsp powder made by dry roasting the following 
    1. Cinnamon Stick 1 inch
    2. Cloves 4
    3. Cumin 1/2 tsp
    4. Coriander seeds 1.5 tsp
    5. Pepper Corn 2 tsp

How I made it :
  1. Dry roast the ingredients under 17 and grind them into a fine powder
  2. Blanch the tomatoes by immersing in water and bringing to a boil until the skin gets all wrinkled. Drain water and keep aside.
  3. In a pan heat oil from step 16.
  4. Add the ginger.
  5. Add green chillies and kasuri methi. Fry for a minute.
  6. Add the cashew nuts.
  7. Fry for about 3-4 minutes till the cashews brown.
  8. Add the grated bottle gourd. 
  9. Fry for about 5 minutes on low. 
  10. Cool this mix. Add the tomatoes.
  11. Grind to a fine paste.
  12. Heat 1 tsp oil from 5. 
  13. Add cumin seeds and 1 tsp kasuri method. Fry for a minute.
  14. Put in the capsicum
  15. Fry till almost done and then put in the tofu cubes and toss till covered. The intention is to stiffen the cubes with little coloration.
  16. Put in the ground paste.
  17. Add the red chilli powder, cumin powder, coriander powder and adjust salt.
  18. Fry on low, covered, for 10 minutes. Mix in between.
  19. Add garam masala, fry for 30 seconds and cover. 
  20. Serve hot with rotis.

Tuesday, January 29, 2013

Triple M - Methi Malai Mattar

I had plans of making methi egg burji today but when I got home, Pras said he had eaten egg for lunch. I remembered the peas that I had bought and the pack of fresh cream that I had opened for the Butter Karela Masala. So, here goes the recipe for one of my favorite white curries - methi malai mattar.

I had made a similar recipe Methi Peas Panneer sometime back. It is similar except in this one I did not use cashews.


Ingredients (Serves 2 as a side dish):
  1. 1 cup peas - I used safal frozen peas. 
  2. 1 inch cinnamon stick
  3. 3-4 cloves
  4. 1 tsp cumin seeds
  5. 1 tbsp oil
  6. 1 bunch methi leaves
  7. 1 small sized onion
  8. 4-5 medium sized cloves of garlic
  9. 1 inch size ginger
  10. 4 green chillies
  11. 150ml fresh cream
  12. 1/4 cup milk
  13. 1/4 cup water
  14. Salt to taste
  15. 1/2 tsp garam masala powder
How I made it :
  1. In a mixie jar, blend together the onion, ginger, garlic, green chillies and fresh cream.
  2. Put the peas in a microwave safe bowl and zap them for about a minute. 
  3. In a kadai, heat oil.
  4. Add cumin seeds, cinnamon stick and cloves.
  5. Once the cumin seeds change colour, add the chopped methi leaves.
  6. Fry for about 4-5 minutes till the bitter smell goes away.
  7. Add the mixture from step 1.
  8. Add the green peas.
  9. Let it fry on slow for about 8 minutes. Stir in between to ensure no sticking. When inhaled, there should be no raw smell of onions nor ginger nor garlic.
  10. Add water and milk to get desired consistency.
  11. Add salt.
  12. Fry for about 2 minutes.
  13. Just before turning off the heat, add the garam masala. Fry for about 30 seconds and then close the lid.
  14. Serve hot with rotis.

Tips :
  1. You could use kasuri methi instead of fresh methi leaves. You may not need to fry them as much as in step 5 above. Use about 5tsp of kasuri methi.
  2. To get more volume, use cashews as in the recipe Methi Peas Panneer

Saturday, January 26, 2013

Butter Karela Masala - Republic Day Cooking

I came home thinking that I had to make something which reflected the colors of the Indian flag to honour Republic Day. I came home to see Karelas aka Bitter Gourd. So that was my green component. For saffron I immediately thought of butter panneer masala or the likes. For the white I thought of making some ghee rice. In the end, I decided to incorporate all the colors in one dish - butter karela masala. It was awesome and over in minutes. We had it with romali rotis - to add another white dimension.

Ingredients (Serves 2 as a side dish):

  1. 2 medium karela/bitter gourd
  2. 1 large onion
  3. 6 cloves of garlic - biggish ones
  4. 1 inch fresh ginger
  5. 4 small to medium tomatoes
  6. A small handful of cashews
  7. 1 tsp khus khus/poppy seeds
  8. 1/2 tsp red chilli powder
  9. 3/4 tsp coriander powder
  10. 1/4 tsp garam masala powder
  11. 1/4 cup milk
  12. 1-2 tbsp fresh cream/malai
  13. salt to taste
  14. Oil - 1/4 cup
How I made it :
  1. Soak cashew and khus khus in little hot water for 15 minutes.
  2. Clean and finely slice the karela into rounds. Salt and keep aside to let the bitterness out. I skip this part in order to get the most out of the karela as I believe that salting it takes out some of its goodness.
  3. Grind the onion, ginger and garlic to a fine paste.
  4. Grind the tomatoes separately along with cashew and khus khus.
  5. Heat oil in a kadai.
  6. Fry the karela pieces till cooked.
  7. Take out and in same oil, add the onion paste.
  8. Fry till raw smell goes away - about 3 to 4 minutes
  9. Add the tomato paste.
  10. Add the red chilli, coriander and garam masala powders.
  11. Fry till fat separates - about 5-7 minutes
  12. Add the milk and fry for a minute.
  13. Add salt to taste along with the karela pieces.  Watch the salt if you had salted the karela pieces earlier.
  14. After a minute or so, add the fresh cream. Mix well and turn off heat.
  15. Serve hot with rotis.

Thursday, September 20, 2012

Mom's butter panneer recipe with Methi Rotis

After all my cooking experiments, I wanted to make something the way my mom makes it. All this, only because, I really did not get to eat much of mom made food when I was at home this last time. Butter panneer used to be one of my favorites - absolutely yummy with rotis and sindhi papad. Without any further delay, here goes the recipe

Ingredients (serves 2) : 

  1. 200 grams of panneer - cut into cubes
  2. 1 large onion - roughly chopped
  3. 1 inch stick of cinnamon
  4. 3 cloves
  5. 3 medium tomatoes - chopped {the key is to have the same quantity of tomato as there is onion, so adjust accordingly}
  6. 15 pieces whole cashew
  7. 1 tbsp khus khus - add 1 more tbsp of cashew if you do not have khus khus. Khus Khus is also known as poppy seeds. Images of khus khus
  8. 1 tsp red chilli powder
  9. a pinch of kasuri methi
  10. salt to taste
  11. water
  12. 3.5 tbsp of oil
  13. ginger - 1 inch piece chopped
  14. garlic - 6 cloves
  15. Milk for getting desired consistency


How I made it :
1. Soak the khus khus and cashew in a small quantity of water, enough to at least cover the khus khus and cashew. Heat up the water - a minute in the microwave. Watch the time as the water could over spill.


2. Heat 2 tbsp of oil. Add the onions. Fry till golden brown. Add the ginger and garlic. Fry for a minute and set aside to cool.


3. Heat 1 tbsp of oil. Add the tomatoes and red chilli powder. Fry till fat separates and set aside to cool.
4. Once cooled, add the tomato mix, onion mix and the khus khus and cashew along with the water in which they are soaking into the food processor and blend till smooth.
5. Heat a little oil and lightly fry the panneer pieces till they get a golden tinge on all sides. This step can be skipped if you are sure about the panneer. I had tried heritage panneer for the first time and hence did not want to risk it.
6.Heat 1 tbsp oil. Add the cloves and cinnamon. Put in the kasuri methi. Fry for a minute. Put in the blended mixture. Add salt. Let it bubble away (cover with lid, else your kitchen will be an absolute mess). Make sure to stir as the cashew paste will make it stick. After about 5 minutes, add some milk till you get the desired consistency. Once the fat separates, add the panneer pieces. Turn off heat after 5 minutes. Add a dollop of butter before serving.

Note : In step 4, mom's recipes requires the cashew and khus khus to be ground separately. Since I have a huge mixie jar, in which that small quantity wont get ground to a smooth paste, I add it along with the other stuff to be ground. In case you do grind it separately, add it in step 6 before adding the milk and fry for 3 minutes.

Here's a pic with naans which I made recently.

This tastes best with rotis. We had it with methi roti which tasted good too.

Methi roti recipe :
1 small bunch of methi
3 green chillies
1 tsp of cumin powder
A pinch of turmeric powder
1 handful of besan/gram flour
3 handfuls of atta/wheat flour
1 tbsp oil
Water

Grind the green chillies and cleaned methi to a paste. Add all other ingredients and make a soft dough. Roll out like chapati and roast on a hot tawa with oil/ghee/butter.

Aloo Gobi Sabji

Whilst in school, I did not have to carry lunch. We were provided nutritious meals at school. When I moved to college, I had to carry my own dabba. My aunt would wake up at 5 every morning and prepare yummy dishes for the dabba. One of my favorites was this aloo gobhi sabji. My aunt would pack 2 dabbas when she made this, as my classmates would not spare me a morsel. Trust me, it was truly delicious. I had seen her making it a few times but not in entirety. Here's what I remember and how I make it.

Ingredients (serves 2) :

  1. 1 medium sized cauliflower - with about 20 florets - don't split them yet.
  2. 12 baby potatoes with skin on - you can use 2 medium potatoes
  3. 2 large onions chopped finely
  4. 1 inch piece ginger
  5. 6 cloves of garlic
  6. 1 green chilli
  7. 1/4 capsicum chopped - optional
  8. 2 large tomatoes finely chopped
  9. 1/2+1/4 tsp turmeric powder
  10. 3/4 tsp red chilli powder
  11. 3/4 tsp coriander powder
  12. 3/4 tsp cumin/jeera powder
  13. 1/2 tsp garam masala powder
  14. 1/4 tsp amchoor powder
  15. 1 tbsp + 1 cup of oil 
  16. 1tsp cumin seeds
  17. Salt to taste
  18. Coriander leaves to garnish
How I made it :
  1. Wash and boil the potatoes in salted water. Ensure that they don't get over boiled. They need to retain their shape. One whistle on high and one on low should do.
  2. In an open pot of hot boiling water, immerse the whole cauliflower upside down. Add 1/2 tsp turmeric powder. Turn off after 3 minutes and drain. Split the florets.
  3. In a wok, heat 1 cup of oil. When hot, put in the potatoes. Cover and let them fry. If you have put them in with the skin, you will know when they are done based on the crumples on the skin.
  4. Remove the potatoes and drain on a kitchen towel.
  5. In the same oil, put the cauliflower and fry them till the edges of the florets brown. Remove and drain on kitchen towel or piece of newspaper. 
  6. In another pan, heat 1 tbsp oil.
  7. Put in the cumin seeds.
  8. After 30 seconds, put in the onions. 
  9. Mince the ginger and garlic. When the onion start to turn light golden brown, put in the ginger garlic paste. 
  10. Keep frying till the onions continue to brown. You could put in some more oil from the frying if you want to. 
  11. Put in the green chillies and capsicum.
  12. Fry for 2 minutes. Add the tomatoes.
  13. Fry for 3 minutes and add all the dry powders. 
  14.  Fry till fat separates. 
  15. Add salt and put in the potatoes and cauliflower.
  16. Cover and cook for 3-5 minutes.
  17. Garnish with chopped coriander leaves and serve with rotis.
Tip :
I usually use the oil in which I've fried stuff once, to make my chapatti/roti dough. Or, I top my rotis with this oil. Sometimes, I also use it in the curries as the oil need not be heated up to smoking point for curries.

Wednesday, August 22, 2012

Bhindi In Tomato Gravy

One of the first dishes that my sister in law made post marriage is this really simple ladies finger in a tomato based gravy and it was an instant hit amongst the entire family. It is such a hit that it has been added to the Gujrati thali sold at C-Store Cafe. I did sample it when I visited home this time and when I saw fresh bhindi at the grocery store, I just had to try the recipe out myself. It was over in a matter of minutes.

This picture is a capture of what was made to be served as part of the thali. The poor customers had to make do with just one helping. They loved it and came back for more but there was none left.

Ingredients (serves 1):

  1. 15 bhindi/okra cut into 1 inch pieces
  2. 4 cloves of garlic
  3. 1/2 inch piece of ginger
  4. 3 tomatoes - medium sized, preferably the country variety
  5. 1/2 tsp cumin powder
  6. 1/2 tsp coriander powder
  7. 1/2 tsp red chilli powder
  8. 1/2 tsp garam masala powder
  9. 1/4 tsp turmeric powder
  10. Salt to taste
  11. 1 tbsp oil
How I made it :
  1. Puree the tomatoes, ginger and garlic.
  2. Zap the chopped okra in the microwave on high for 4 minutes
  3. Heat oil in a pan.
  4. Add the puree made in 1.
  5. Fry till the fat separates.
  6. Add the cumin, red chilli, coriander, turmeric and garam masala powders.
  7. Add salt and throw in the okra/bhindi. Mix well. Garnish with Coriander and serve with rotis.

Saturday, July 28, 2012

Peas pulao

I had my cousins over for dinner a few days ago. To avoid having to stand in the kitchen making rotis, I thought of cooking up some pulao/rice dish as well. I learnt this trick from my mom and aunt as they used to cook up delectable meals for guests back home. Peas pulao used to be one of the standard rice dishes prepared by them. I added my own touches to their recipe and it was loved. My friends at work loved it too.

Preparation Time : 10 minutes - to clean rice, grind ginger garlic paste
Cooking Time : 15-18 minutes
Ingredients (Serves 4-6): 
2 cups jeera samba rice
1/2 to 1 cup of frozen peas
2 cups coconut milk
2 cups water
4 cloves
4 slit green chillies
1 big stick of cinnamon
2 bay leaves
4 cardamon
1 small onion finely sliced
2tbsp oil
2tbsp ghee
1tbsp olive oil
1tbsp ginger garlic paste
1/2 tsp turmeric powder
Salt to taste
To garnish :
A handful of fried panneer cubes - optional
Fried cashews
Coriander leaves chopped

How I made it :
1. Pick and clean the rice and keep aside in water.
2. In a wide bottomed pan, heat oil and ghee.
3. Drop in the cinnamon, bay leaves, cardamom and cloves.
4. Once fragrant add the onions and fry till translucent. Add the slit green chillies.
5. Add the ginger garlic paste and fry till the raw smell goes away. I find that this is easier when using store bought ginger garlic paste. When using fresh ginger garlic paste, it is a bit tough to tell with the aromas of the kada masala.
6. Add the olive oil and rice without the water.
7. Mix and fry till you can smell the nuttiness of the rice.
8. Add the coconut milk, turmeric powder, water and salt to taste. To test whether the salt would be right, taste the mixed liquid after the rice is in and it should be a little on the salty side.
9. Bring to a boil.
10. Cover with aluminium foil. Put on the lid and cook on low for 8 to 10 minutes.
11. Once done, using a fork just ruffle up the rice.
12. Garnish with fried panneer cubes, cashews and coriander leaves.

Serve hot. I served this with mom's delectable mutton curry. Recipe coming soon.

Dal tadka

Dal when cooked well can leave you licking your fingers. Alka's recipe Tadka Dal is a must try. I've made it many a time now and it has never failed. Earlier, when I started cooking, I would call mom and ask her when I forget a recipe or a step in the recipe. With the opening of the cafe, mom tends to be busy. Alka's recipe has been a saviour and good reference guide. I made very very minor modifications to my liking but the dal is still "dal"-icious.

Ingredients :
1 cup masoor dal picked, rinsed and soaked in water 
1 medium onion chopped
1 large tomato chopped
4 cloves of garlic chopped into small pieces
Water
1/2 tsp turmeric powder
Salt to taste
1 tbsp oil
Coriander leaves for garnish
For tadka :
1 tbsp ghee
1 tsp mustard seeds
1 tsp jeera/cumin seeds
1 whole red chilli
1/2 tsp red chilli powder - my addition to get a little spicier dal

How I made it :
  1. Pour oil into pressure cooker. Add chopped garlic.
  2. Turn on heat and fry till garlic pieces brown. 
  3. Add the onions and fry till translucent.
  4. Add the tomatoes and cook till you can easily mash them in.
  5. Add the dal, turmeric powder, salt and water - about 1 and a half cups of water.
  6. Cover and cook for 5 whistles on high.
  7. Once the pressure releases, mix the dal with a fork. 
  8. Heat the ghee for the tadka in a tadka pan. Add the mustard and cumin seeds.
  9. Once the mustard seeds splutter, add the whole red chilly and red chilly powder.
  10. Pour this over the dal.
Goes well with steamed rice or rotis or peas pulao or jeera pulao.

Methi Peas Panneer

The past week has been hectic with a wedding in the family so I hardly got to do much cooking. When my friends asked me what my weekend plans were I said I would relax and probably do some baking. For me, cooking/baking is therapeutic. I need to come home and cook my meal to feel that all is well. So, here is my first post for this weekend with methi peas panneer in a white sauce. This is a really simple recipe and is ready in a jiffy.

Preparation Time : 10 minutes
Cooking Time : 10-15 minutes
Ingredients (serves 2):
1/2 cup packed fresh methi/fenugreek leaves
1/4 cup frozen shelled peas
200g panneer/cottage cheese - chopped into small cubes
1/4 cup fresh cream
1/4 cup milk
1 tbsp oil
1/2 tsp jeera/cumin seeds
salt to taste
1/2 tsp garam masala (optional)
To grind :
10 cashew soaked in hot water for 10 minutes
1/2 tsp khus khus/poppy seeds soaked along with cashew
1 small onion or 1/2 medium onion
3 cloves garlic
4 green chillies
1/2 inch ginger

How I made it :
1. Grind the ingredients under the "To grind" section and keep aside.
2. Heat oil in a pan. Add the cumin seeds.
3. Add the methi leaves - chop them up if you like.
4. Once your kitchen is filled with the aromas of the fried methi, add the panneer and green peas. Fry till there are tiny bits of brown seen on the panneer.
5. Add the ground paste.
6. Fry for about 8 minutes. Do take care as it can stick to the bottom of the pan because of the cashew and poppy seeds paste.
7. Add salt to taste.
8. Add the whipped cream and milk. You may require more milk based on the consistency that you desire.
9. Finally add the garam masala. Mix well and serve hot with rotis/paratas.

I served it with plain parathas.

Saturday, July 21, 2012

Aloo Paratha - Step-by-step recipe

I just love my potatoes and what better way than Aloo Ka Paratha? Healthy boiled potatoes sandwiched between whole wheat rotis - tastes delicious as is or with pickle, curd, pudina chutney or papad. I can eat parathas any time of the day. Most people who have sampled my paratha are very pleased especially cause of the amount of potato that I put in.

I thought I'd post this one as a Step-by-Step recipe.

Ingredients for 5 parathas:
For the rotis :
5 handfuls of whole wheat flour
1 tbsp oil
1 tsp red chilli powder
Salt to taste
Water as required

For the potato mash filling:
5 boiled potatoes - medium sized

1 green chilli finely chopped
1 handful of fresh coriander leaves chopped finely
1/2 tsp red chilli powder
Salt to taste

How I made it :
1. Boil and mash potatoes. Add all other ingredients under potato mash filling and keep aside.

2. Make a stiff dough with the whole wheat flour.
3. Divide the dough into small rounds of same size.

4. Take two of the rounds. Roll each out into a small slightly thick puri of same size.
5. Take about 2 times the size of one round of potato mash. Place it in the centre of one of the rounds.

6. Cover this with the other round. Pinch the edges together. Pinch as little as possible to ensure that the potato does get to the edges whilst rolling it out.
7. Dust this well with flour on both sides. Roll this out starting from the edges towards the centre. This will ensure that the filling does not get out. So, basically you will roll at an angle from out to in with medium pressure. Once you feel that the potato filling is well distributed, roll out as usual. Ensure that it is well floured to prevent it from sticking and breaking. You could also roll it out a bit thick.

8. Place this on a hot tava on high. Turn after 30 seconds. Reduce heat to low. Drizzle oil on the edges.
Turn this after about a minute. Drizzle some more oil. Turn the heat back on high and cook for 30 seconds. The appearance of dark brown spots indicates that it is cooked. In case you've rolled your paratha out thicker than shown, these timings may not apply.

I served mine with Mom's Pudina Chutney and Mom's Mango Muraba (recipe coming soon)

Tips:

  1. Ensure that the potatoes are really well boiled such that they are easily mashable without much effort.
  2. Ensure that the vessel in which you mash the potatoes is completely dry. 
  3. Peel the potatoes when still hot. Do not let it sit in the water for too long. Wipe the potatoes, if needed, to remove any excess water. A watery mash will make it difficult to roll out.
  4. The whole wheat flour dough should be a little on the stiffer side to enable easier rolling. I find that the addition of red chilli powder to the dough helps in this.
  5. The simplest seasoning of salt will do. Try it this way at least once.
  6. For a perfect paratha, the quantity of aloo should be more than that of the rotis.
  7. When pinching the rotis together, pinch the ends just enough to close the rotis together. This will ensure that the potato gets to the very edge too.